The first thing every business owner needs is a professional email address. After you have set up your webstore, the next most important to do is create a professional branded email address.
If you use hosting with cPanel, you have a possibility to create emails like support@yourdomain.com absolutely free.
Follow these instructions to learn about how to create and use such emails.
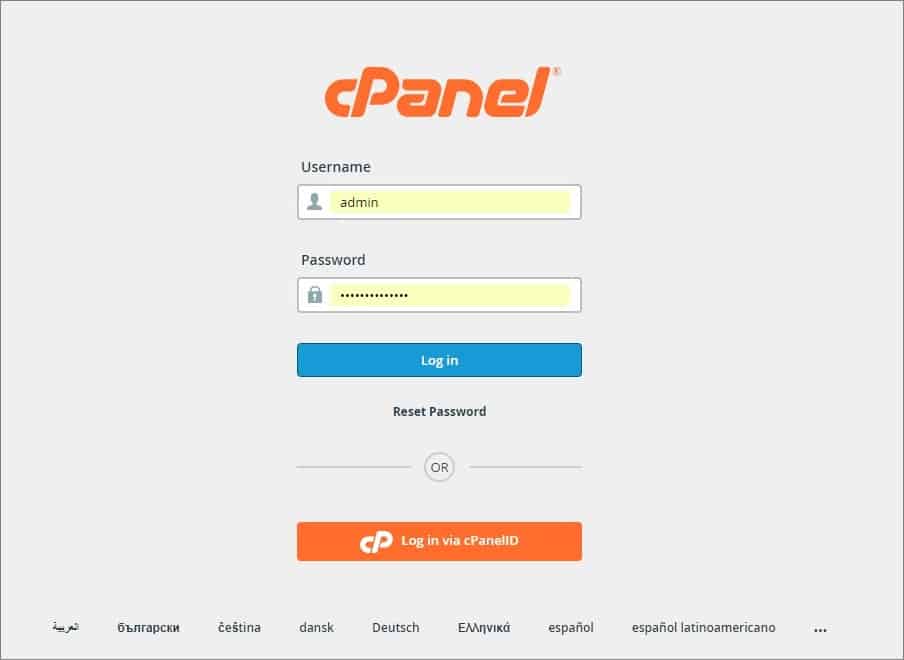
1. Open your browser and enter your domain name and add ':2083' (for example: yourdomain.com:2083).
You will see your cPanel access page. Enter your login, password and click Log in.
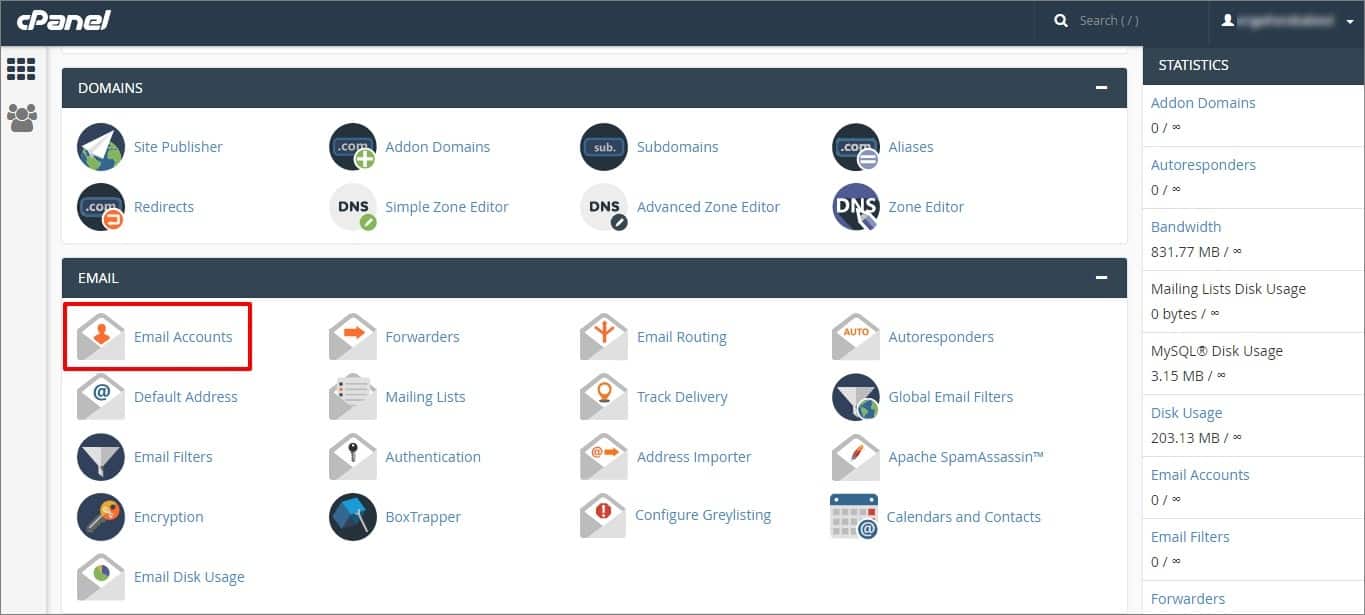
2. Find the Email section on your cPanel dashboard and click Email Accounts.
3. Fill out the form to create a new email account.

Once your account is ready, you can use this email for any business needs.
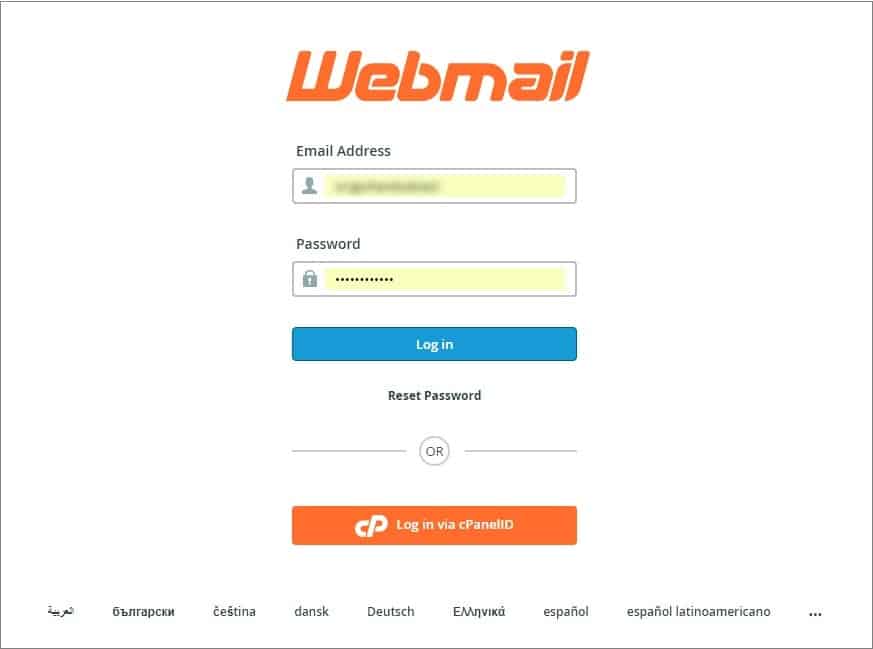
4. To check your inbox or send emails, go to yourdomain.com:2096. You will get to a Webmail form where you need to enter your email address and password to log in your email account.
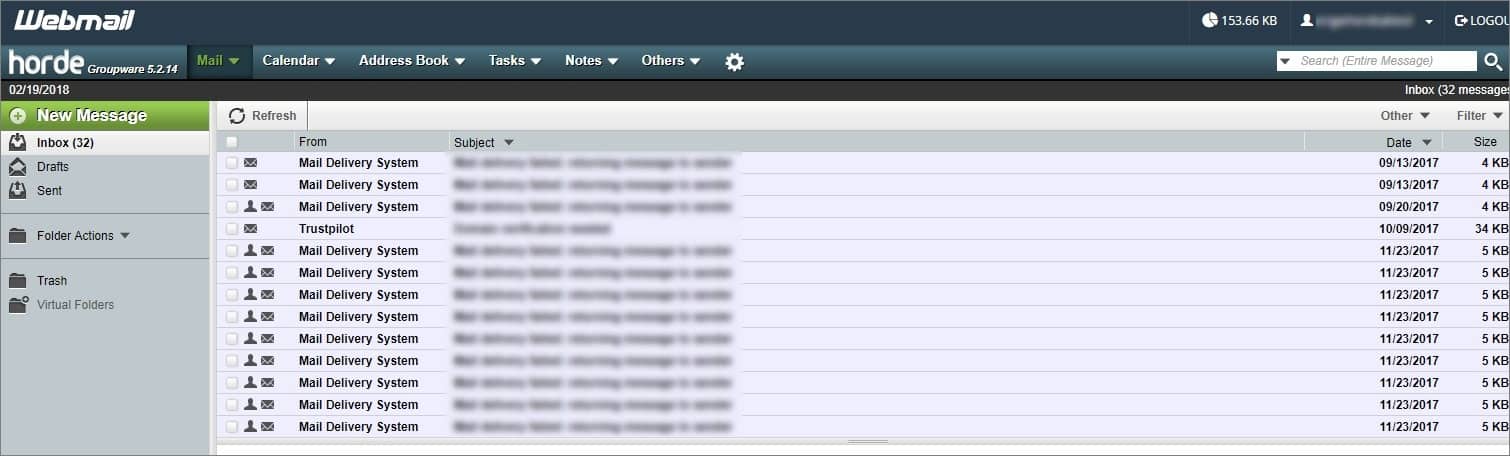
5. Choose any default webmail application.

You may choose RoundCube or Horde interface.
6. In your email control panel you can check your inbox, reply and send emails.
If you have any difficulties with using the system, please check out this video tutorial.
If your domain is pointed to IP address instead of nameservers, your registrar may add its own MX records to your DNS settings. In this case your emails will be sent to your registrar’s hosting, not your cPanel. To avoid this, follow the instructions set out below:
Sign in to your domain registar account and find your domain name.

In the Records section of your domain name information find MX records and click the pen icon to edit them.

To remove an MX record, click the bin icon and save changes.

Complete these steps for each MX record.